We use cookies to ensure a comfortable browsing experience on our website and to continuously improve its features, performance, and usability through traffic analysis. Learn more.

(Updated: October 2026)
In the realm of creativity, there's an art form that's as captivating as it is therapeutic – tufting. This fiber art has taken the crafting world by storm, transforming ordinary fabrics into vibrant masterpieces. And the key to this transformation lies in the hands of a trusty tool. The tufting gun!

How does a tufting gun work?
The tufting gun, is more than just a mere tool, is an instrument of creativity. It's like a mechanical paintbrush, weaving tufts of yarn into a tapestry of your imagination. But how does this magical transformation happen?
The tufting gun did not appear out of nowhere. It grew out of a century of industrial carpet manufacturing, which we trace in detail in our piece on tufting in textile and where the craft comes from.
Safety first
Before threading your tufting gun, always switch the machine off. For maximum safety, disconnect it from the power source to eliminate the risk of accidentally starting it while handling the yarn.
Whenever you need to replace parts, perform maintenance, or make adjustments, unplug the tufting gun before beginning any work.
If you're changing the scissors on a cut pile tufting gun, handle them carefully, as the blades are sharp and can easily cause injury.
While the tufting gun is running, never place your hands near the moving components. Keep loose clothing, long hair, and other objects away from the mechanism to prevent them from becoming caught in the machine.
Main parts of a tufting gun
The motor drives the needle, which carries yarn through the tufting cloth. Yarn guides direct the yarn towards the needle, while the presser foot rests against the cloth to help maintain consistent contact.
The rear grip and support handle help you control the machine. The power switch turns it on or off, and the trigger activates the tufting mechanism. On models with adjustable speed, a separate control changes how quickly the mechanism runs.
Cut-pile guns also have scissors that cut the yarn loops. Loop-pile guns leave the loops intact. The yarn supply and stretched cloth are separate from the gun itself.
Mastering the tufting technique: A symphony of threads
The tufting process is a dance of precision and creativity. It involves the following steps:
- Yarn feed: The yarn is fed through the needle's channel, ready to be woven into the fabric.
- Trigger activation: With a gentle pull, the trigger sends the needle plunging through the backing fabric, embedding the yarn in place.
- Pile formation: The needle pushes yarn through the cloth, forming loops on the opposite side. A loop-pile gun leaves the loops intact, while a cut-pile gun cuts them. The machine does not tie knots.
Threading your tufting gun
On many common electric tufting guns, the yarn passes through a guide on the machine and then through the needle eye. The exact threading path depends on the model, so check the threading diagram supplied with your gun.
To thread the gun, start by passing the yarn through the upper guide eye, then continue by feeding it through the eye of the needle. Using a needle threader will make this step much quicker and easier.
If you don't have a dedicated threader, you can make one yourself from a thin piece of wire. A straightened paperclip folded in half works well and helps pull the yarn through the small openings without much effort.
Choose the number of yarn strands according to the yarn thickness and your machine's guidance. The strands should pass freely through the guides and needle eye. Do not add more strands if they create resistance, snagging or jams.
Finally, ensure your yarn is supplied smoothly from the yarn feed or cone. Proper yarn tension and an uninterrupted feed help prevent the yarn from catching or becoming stuck while the machine is running.
How to control a tufting gun
With your gun threaded and ready to use, practise a few short lines before following your design. These instructions cover common handheld electric tufting guns; follow your model's manual for its controls and adjustments.
Hold the gun square to the cloth
Hold the rear grip with one hand and the support handle with the other. Keep the needle approximately perpendicular to the cloth and the presser foot flat against it. Maintain steady forward pressure so the foot stays in contact throughout the line. Avoid tilting the gun or letting it bounce away from the surface.
Coordinate the trigger and your movement
Begin at a low operating speed. Position the needle through the cloth before pressing the trigger, then guide the gun steadily along a short line. Release the trigger and let the mechanism stop before withdrawing the needle. Do not keep the gun running in one spot. If you feel rushed, use shorter trigger bursts to regain control.
Guide the gun in its working direction
Start with lines moving from bottom to top. For horizontal or diagonal lines, rotate the whole gun so its forward working direction follows the line. Do not drag the needle sideways or pull the running gun backwards. At a sharp corner, stop, withdraw the needle and reposition before continuing. Practise gentle curves with short, controlled movements.
End the line correctly for your pile type
A cut-pile gun cuts the yarn as it works. A loop-pile gun leaves the yarn connected, so you need to switch off and cut the connecting yarn manually before moving to another area. Avoid pulling the gun away under yarn tension, which can undo the loops you have just made.
Tufting tips: Enhancing your artistic journey
- Quality yarn: Opt for high-quality yarn for durability, visual appeal, and a smooth tufting experience.
- Needle condition: Use the needle specified for your machine and check it for damage. Follow the manufacturer's instructions when replacing or adjusting it.
- Regular cleaning: Maintain your tufting gun with regular cleaning, extending its lifespan and preventing wear and tear.
- Safety precautions: Protecting Your Craft and Well-being.
- Sturdy surface: Tuft on a stable, flat surface to minimize the risk of accidents.
- Choose a reliable tufting gun: For the best results, select our high-quality AK-V tufting gun, trusted by artists at every skill level.
Not all tufting guns are created equal, and the price gap between entry-level and mid-range models tells a specific story. We looked at what a budget tufting gun delivers.
Maintenance
Keeping your tufting gun in good condition only requires a small amount of routine maintenance. The most important task is lubricating the moving parts with a few drops of machine oil to reduce friction and ensure smooth operation. Follow your machine's manual for the recommended lubricant, lubrication points and frequency, taking your usage into account.
If you're using a cut pile tufting gun, remember that the scissors naturally wear down with use. Depending on how often you tuft, they may need to be sharpened or replaced to maintain clean, consistent cuts.
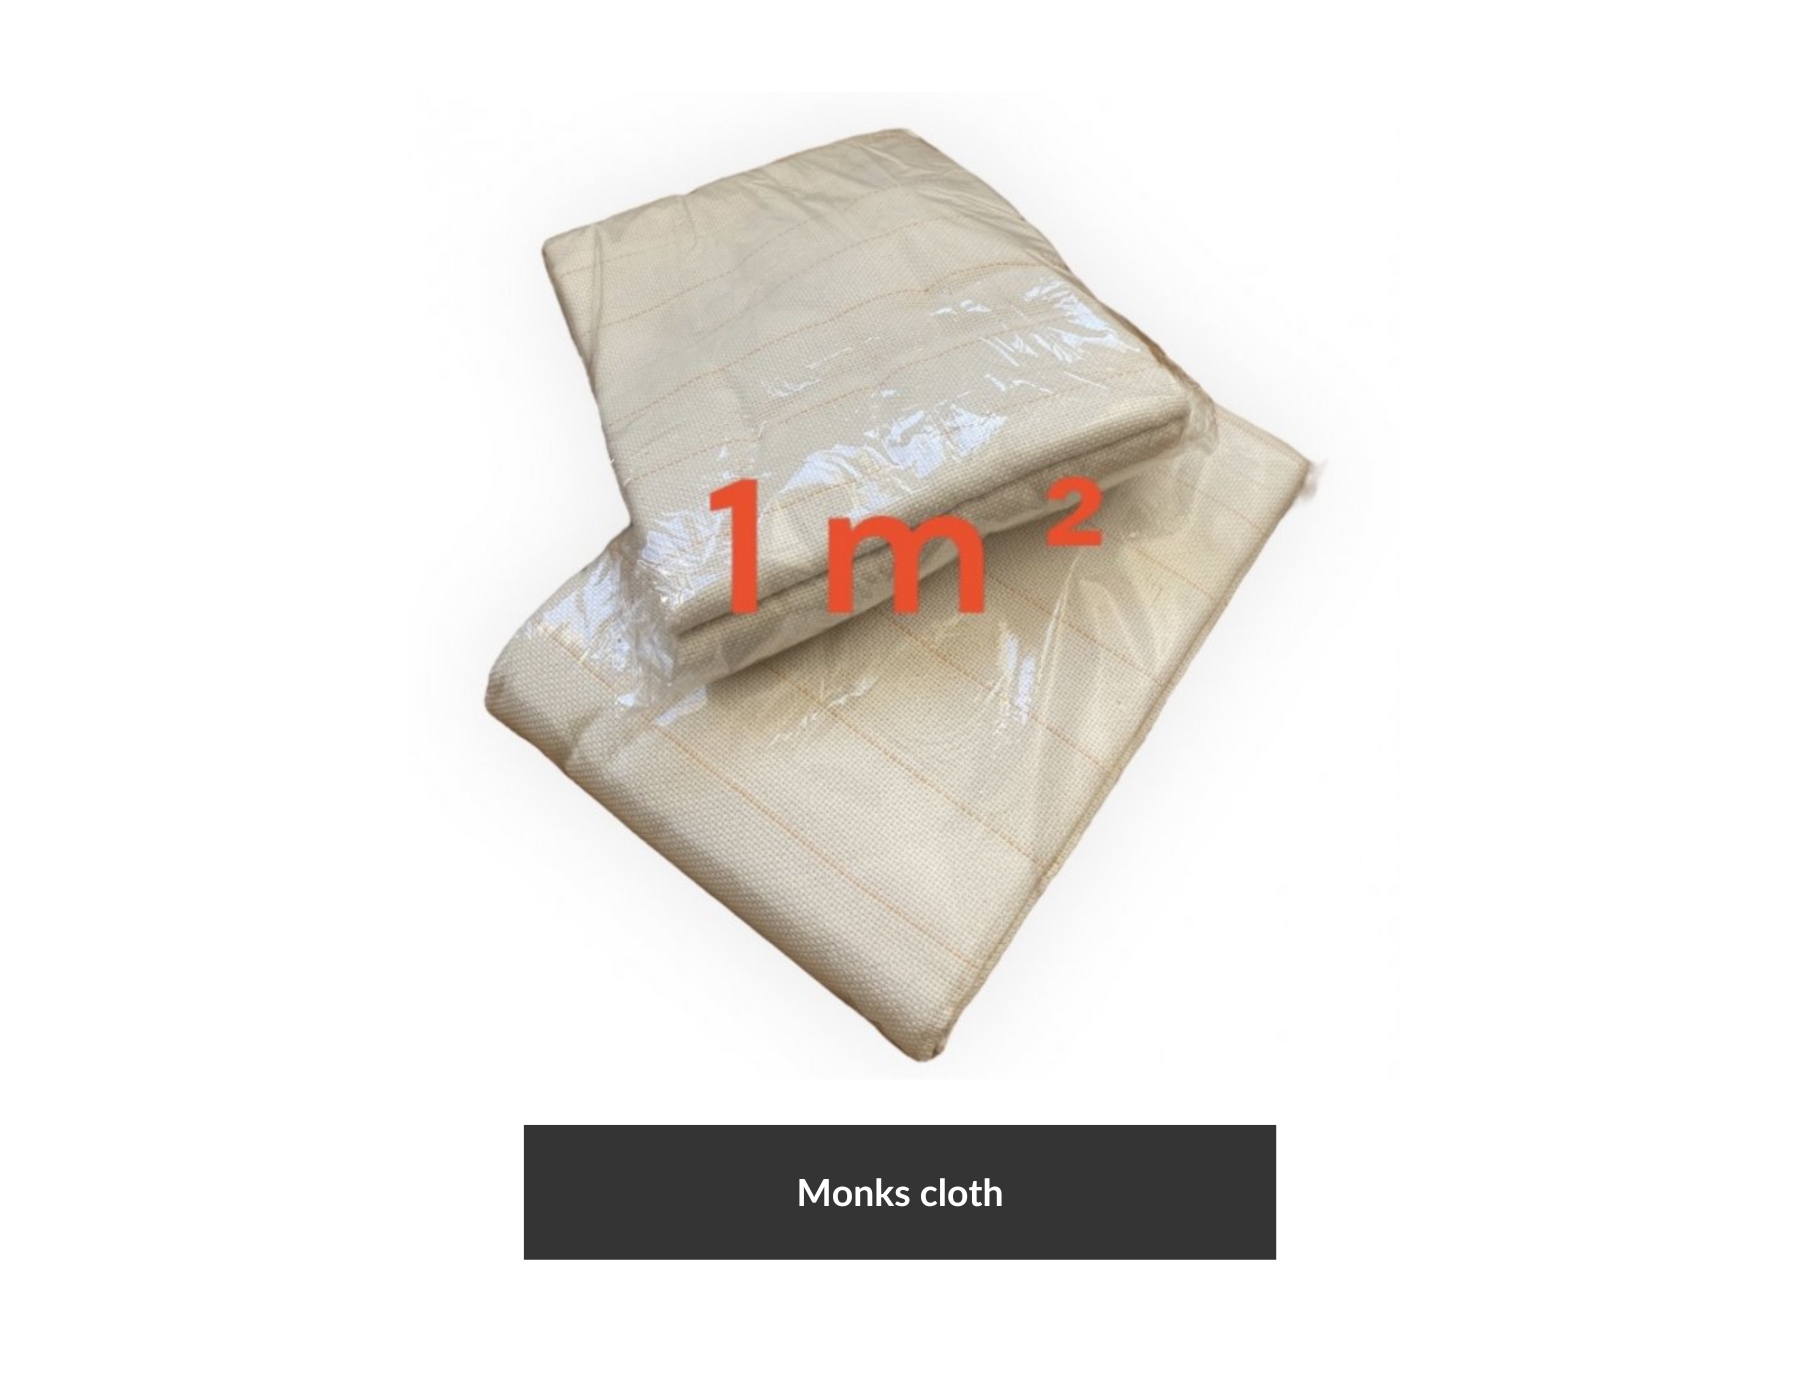
Monks cloth 1 x 1 m
Embrace the art of tufting with our essential companion, the primary tufting cloth. This durable base layer paves the way for seamless yarn attachment, forgiving any mishaps that might arise along the way. Elevate your tufting experience to a new level of joy and efficiency, propelling your creations to unparalleled heights.
Unleash the full potential of your rug endeavors with this premium-quality tufting fabric. Sized to perfection at 100 x 100 cm, this one-square-meter cloth is ideal for crafting a single medium-sized masterpiece.
A gateway to artistic expression
The tufting gun, with its simplicity and versatility, empowers you to transform ordinary fabrics into extraordinary works of art. Whether you're a seasoned crafter or a curious beginner, tufting offers a journey of creativity, relaxation, and self-expression. So, grab your tufting gun, unleash your imagination, and let your creativity bloom!