We use cookies to ensure a comfortable browsing experience on our website and to continuously improve its features, performance, and usability through traffic analysis. Learn more.
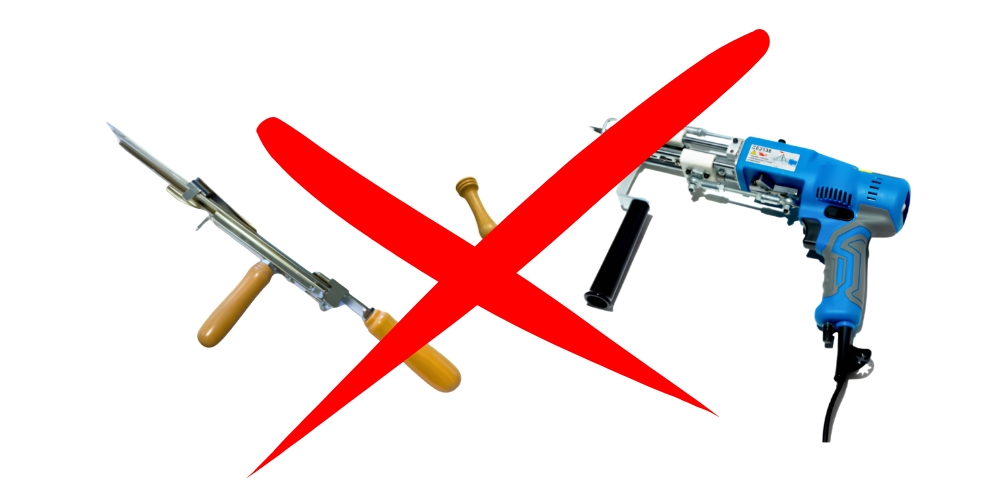
Can you tuft a rug without a gun? Absolutely—and it’s becoming one of the most popular entry points into tufting for beginners and hobbyists alike. As more people explore creative, hands-on crafts, manual tufting has gained attention as a simple and affordable way to get started. While a tufting gun or tufting machine can significantly speed up the process, many creators are discovering low-budget, manual techniques that still produce beautiful and high-quality tufted rugs. In this guide, we’ll walk you through how to start rug tufting without expensive equipment, what materials you’ll need, and how to successfully complete and finish your first handmade piece.
How to tuft a rug without a tufting gun
Learn how to make a rug without a tufting gun
If you’re just getting into rug tufting, investing in a full tufting starter kit might feel overwhelming, especially if you’re unsure whether you’ll stick with the craft long-term. The good news is that you don’t need expensive tools to begin. You can start with manual tufting using simple tools like a tufting needle or punch needle, both of which are widely available and beginner-friendly.
This method is slower than using a machine, but it offers greater control over each stitch and loop. That makes it ideal for beginners who want to understand the basics and build confidence before moving on to advanced tools. Manual tufting works by pushing yarn through tufting cloth that is stretched tightly on a frame. Unlike a rug tufting gun, which automates the process, you’ll be creating each loop by hand, one section at a time.
Although it requires patience and a steady pace, many creators find this process relaxing and rewarding. It allows you to fully engage with the craft and develop a deeper appreciation for how tufted rugs are made.
Rug tufting without machine
Rug tufting without a machine is not only possible—it’s also one of the best ways to truly understand the fundamentals of the craft. When you work manually, you gain firsthand experience with how yarn behaves, how to maintain proper tension, and how different tufting yarn types influence the final appearance and texture of your rug.
While a tufting machine offers speed and efficiency, manual methods provide several important advantages for beginners:
- Lower startup costs, making it accessible to almost anyone
- Better control for small details, especially when working on intricate designs
- A deeper understanding of tufting techniques, which builds a strong foundation
Starting this way allows you to experiment without pressure. If you find that you enjoy the process and want to work faster or on larger projects, you can always upgrade later to a rug tufting kit or professional tools.
What you need before manual tufting
What materials are needed for manual tufting
Before you begin your hand tufting rug, it’s important to gather all the essential materials. Even though you’re not using a tufting gun, having the right setup will make the process much smoother and more enjoyable.
- Frame – A sturdy tufting frame to hold your fabric tightly in place and prevent movement
- Fabric – Primary backing like monks cloth or tufting fabric, which allows the needle to pass through easily
- Yarn – Wool or acrylic yarn for tufting, depending on your budget and desired finish
- Tool – Punch needle or manual tufting tool for creating loops
- Scissors – Sharp tufting scissors for trimming and shaping your rug
Choosing quality materials will significantly impact your results. Even without advanced tufting equipment, good materials can help you achieve a more professional and long-lasting finish.
Choose your design
When starting out, it’s best to keep your design simple and manageable. Beginners often choose bold shapes, clean lines, or minimalistic patterns that are easier to execute without a tufting gun. This approach helps you focus on technique rather than complexity.
More detailed or intricate tufting designs can be challenging when working manually, as they require more precision and time. As your skills improve, you can gradually experiment with more complex ideas.
You can sketch your design directly onto the fabric using a marker, or use a projector for greater accuracy. Many creators browse tufting ideas online to find inspiration before starting their first project.
Put the fabric on the frame
Stretch your tufting cloth tightly across your frame, making sure there are no loose areas. This step is extremely important because loose fabric can lead to uneven loops, inconsistent tension, and an overall less polished result.
A well-built rug tufting frame helps keep the fabric stable throughout the entire process. Take your time during this step, as proper setup will make the rest of the tufting process much easier.
Apply the design
Once your fabric is secured, transfer your design onto it using a marker or chalk. Keep in mind that you’ll be working from the back side of the fabric, which means your design will appear reversed on the finished tufting rug.
This step is essential for guiding your work and ensuring that your final piece turns out as intended. Double-check your design before starting, especially if it includes text or directional elements.
Steps to finish a hand-tufted rug
What are the steps to create a hand-tufted rug
Once your design is fully tufted, the finishing process begins. This stage is just as important as the tufting itself, as it determines both the durability and the final appearance of your rug. Taking the time to complete each step properly will ensure your rug looks polished and lasts longer.
Cut
After completing your loops, you’ll need to decide whether you want a loop pile or cut pile finish. If you prefer a softer and more plush texture, you can cut the loops using sharp tufting scissors. This step transforms your work into a smooth and comfortable tuft rug that feels great underfoot.
Glue
Next, apply a layer of tufting glue to the back of the rug. This step is crucial because it secures the yarn in place and prevents it from unraveling over time. Make sure to spread the glue evenly and allow it to dry completely before moving on to the next stage.
Trim
Trimming helps define your design and improves the overall appearance of your rug. By carefully cutting uneven areas, you can create cleaner lines and a more refined finish. While professionals often use tufting shears, beginners can still achieve excellent results with basic scissors and a steady hand.
Trim & vacuum
After the initial trimming, go over your rug again to refine the surface and remove any remaining inconsistencies. Then vacuum the rug thoroughly to remove loose fibers and debris. This step enhances the final look and makes your hand tufted rug feel more complete and polished.
Bind
Finally, finish the edges by binding the rug with a backing material. This step not only improves durability but also gives your rug a clean and professional appearance. Proper binding ensures your tufting rugs are ready for everyday use.
Final thoughts
While using a tufting gun or tufting machine can make the process faster and more efficient, starting with manual techniques is a fantastic way to learn the craft from the ground up. It’s affordable, accessible, and allows you to fully understand each step of the process. For many people, this hands-on approach is also more enjoyable and creatively fulfilling.
And when you’re ready to take things further, investing in a tufting gun starter kit can help you work more efficiently and expand your creative possibilities. Until then, manual tufting offers everything you need to get started and create something truly unique.