We use cookies to ensure a comfortable browsing experience on our website and to continuously improve its features, performance, and usability through traffic analysis. Learn more.

Has your tufting gun stopped in the middle of a project or is it making unusual noises? In this guide, you’ll learn step by step how to fix the most common faults yourself and avoid expensive repairs. Read on to get your machine ready for use again within minutes.
Quick answer: How do you repair a tufting gun at home?
Most problems can be solved by adjusting the position sensors, sharpening the scissors, or tightening loose screws. First, make sure the machine is unplugged and thoroughly oiled. If the motor runs but the needle does not move, the drive arm has usually slipped out of its guide or a bearing is blocked.
The first steps in diagnosing your tufting machine
Before you start disassembling, you should carry out a systematic diagnosis. Often, the problem is not a mechanical defect but a lack of maintenance.
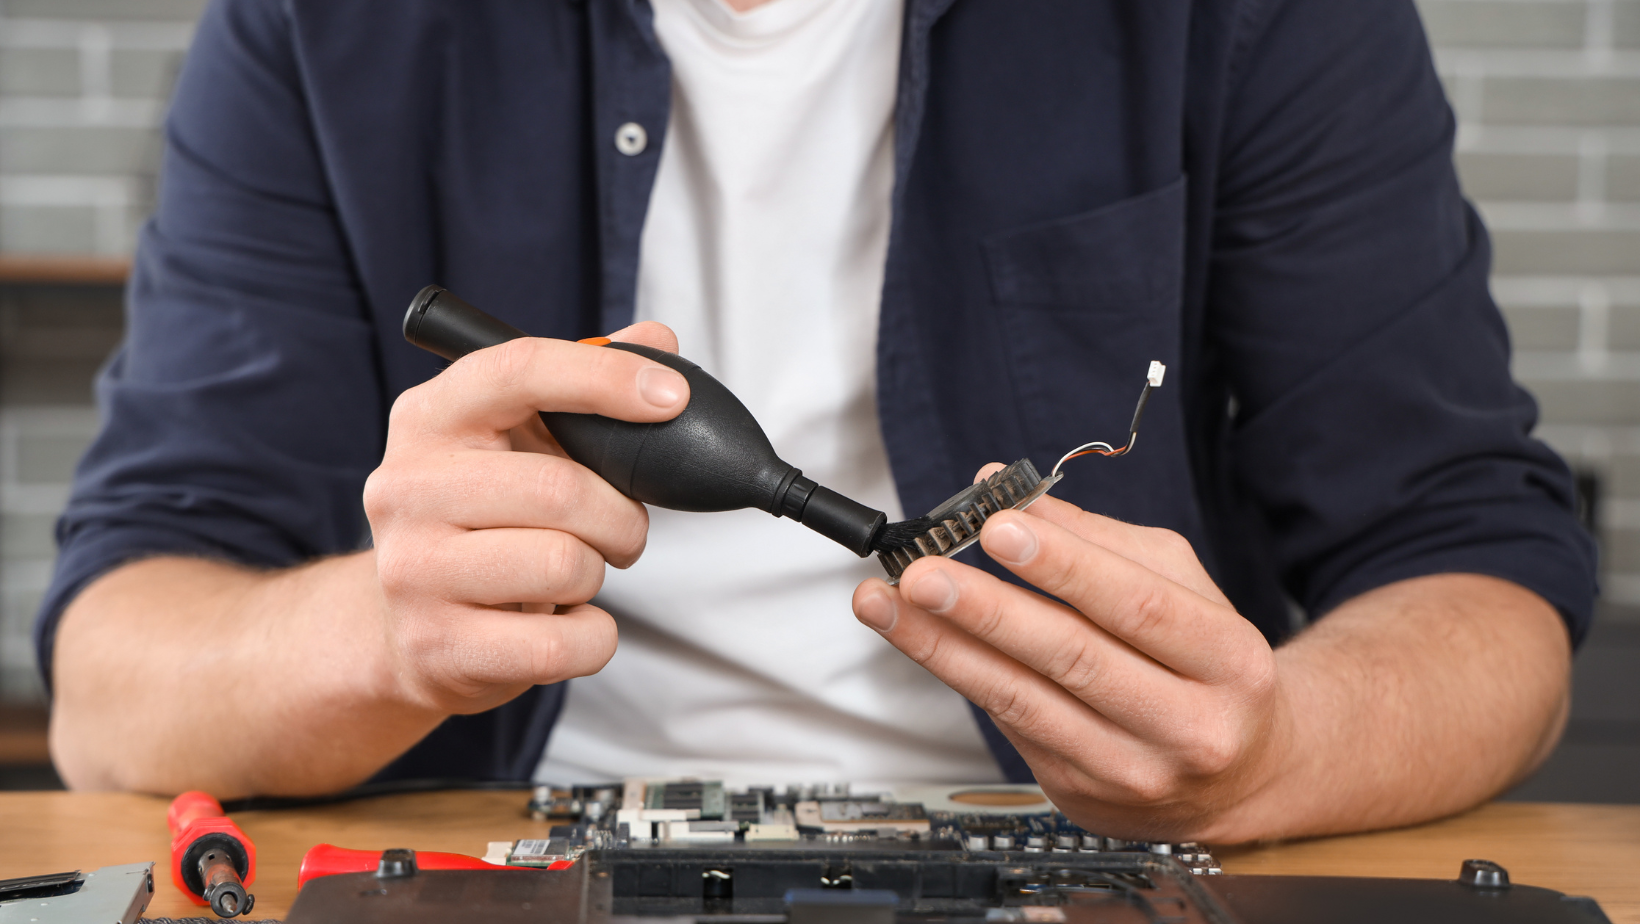
Dust and yarn residues accumulate extremely quickly in the moving parts. First, check whether fibers have become caught in the main gear, as this can block the motor. Thorough cleaning with compressed air or a brush often works wonders.
Another critical point is the power supply. If the machine does not start at all, you should inspect the power supply and cable connections for visible damage.
Sometimes the plug loosens directly at the gun housing due to constant vibrations during work. A simple test in another outlet can rule out issues with the home electrical installation.
Avoid wrong purchases and learn in advance in our blog post
Mechanical blockages and the importance of lubrication
The tufting gun is a precision tool that operates at high speeds. If metal parts rub against each other without sufficient lubrication, heat builds up and the machine jams.
You should regularly oil all moving guide rails and rotating bearings. Use only high-quality sewing machine oil, as it does not gum up and protects delicate mechanisms.
If the gun stutters during operation, it is often due to dry guide rails. Apply a drop of oil to the front needle bar and the side sliding bearings. Manually rotate the gear to distribute the oil evenly. A well-lubricated machine runs quieter and significantly reduces wear on expensive components.
Adjusting the scissors on cut-pile machines
One of the most common problems with cut-pile models is that the yarn is no longer cut cleanly. This causes the machine to tear the fabric or the yarn to slip out of the needle.
In most cases, the scissors are not correctly adjusted or the closing mechanism does not hit the intended block. You can fix this by slightly loosening the small screw on the scissor mechanism and adjusting its position.
Make sure the scissors open wide enough to catch the yarn and close at the right moment. If the scissor blades are dull, you can carefully sharpen them with a very fine file.
However, in most cases it is enough to adjust the pressure point of the closing tab. A tiny millimeter can make the difference between a perfect cut and a defective stitch.
Problems with the automatic stop and sensors
Modern tufting guns are equipped with sensors that control the needle cycle. If your machine runs continuously or stops at the wrong point, the magnetic position sensor is often misaligned.
This sensor is usually located near the large gear. If it shifts due to vibrations, the electronics no longer know when a stitch is complete.
To fix this, you need to carefully open the housing and reposition the sensor closer to the magnet.
The distance should be minimal without the parts touching. A correctly adjusted sensor ensures that the needle always stops in the forward position, making threading and starting a new section much easier.
Replacing wear parts and carbon brushes
Like any power tool, the motor of a tufting gun has carbon brushes that wear out over time.
If the motor sparks, runs unevenly, or loses power, it’s time to check them. The carbon brushes are located in the motor housing and can usually be accessed by removing two small caps. If they are shorter than five millimeters, they must be replaced.
The springs inside the mechanism can also lose tension over time. If the needle pressure on the fabric decreases, you should check the tension springs for signs of fatigue. Replacing these small parts is inexpensive and can be done at home without visiting a professional workshop.
Restoring synchronization between needle and scissors
If the gun is working but does not create loops or cuts in the fabric, the synchronization is off. This means the needle leaves the fabric before the scissors cut, or vice versa.
This can be corrected by adjusting the connecting rods. These rods connect the main gearbox to the front part of the machine.
By turning the eccentric screws on the gear, you can change the timing. It requires some patience and finesse to find the perfect point.
Always test the adjustment first by manually rotating the gear before turning on the power. This prevents the needle from hitting the machine foot and bending or breaking.
Conclusion
To repair a defective tufting gun at home, you usually only need standard tools such as screwdrivers and Allen keys, along with some precision oil. By cleaning the gears, adjusting the scissors, and properly setting the sensors, almost all common problems can be solved yourself. Always check mechanical movement and lubrication first before making deeper electronic interventions. Regular maintenance significantly extends the lifespan of your machine and ensures a clean tufting result. With a little patience and the right steps, your tufting gun will be ready again for your next creative project.